

Hey Friends…..today I wanted to share my latest kitchen DIY
For months I have been wanting to add either a subway tile or a brick back-splash to my kitchen.
When building the house (over 1 year now) and trying to stay on budget there were projects that we knew we would do later to add our own touches, as money and time permitted.
One of those would be the kitchen subway tile or brick backsplash.
With the other projects that we are involved in right now the tile or brick backsplash was on our waiting list
But…..I am always trying to find easy and inexpensive ways to get the look I want until the final way can be done.
So when I discovered this faux brick stick and peel wallpaper I was giddy with the thought of having the brick backsplash look right now.
A few days later I headed out to get the wallpaper.
I estimated that I would need two rolls.
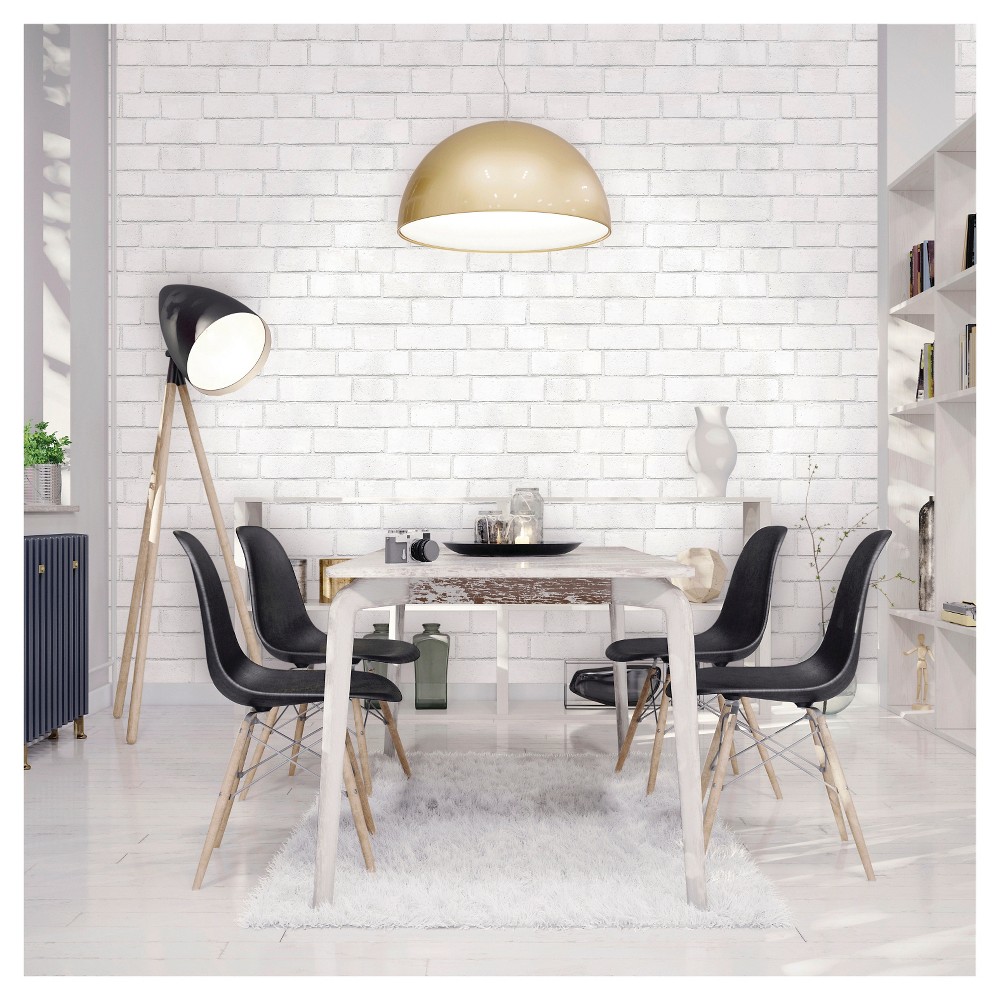
This Faux Brick Wallpaper at Target cost $35 for a roll that covers 27 square feet.
One of the best things about this type of upgrade you don’t have a lot of prep or mess.
It really is measure, cut, peel & stick.
Disclosure: This post may contain affiliate links. See my full disclosure here.
Needed supplies:
Scissors
Level (optional)
Tape Measure
STEP 1
First I removed all my electrical covers.
Measured out my first section
Use a level to make sure lines are straight
Also, there is an up side and down side.
I think the shadow should be on the bottom side of the bricks.
So make sure you keep your pattern going in the same direction.


STEP 2
Partially remove the backing from section
Apply to the wall, peel backing off as you apply to the wall
Rub with hand to remove any air bubbles.
You can place and then peel off wall if you need to re-align


STEP 3
Instructions on the paper state that you should cut all pieces and number the sections.
I did not do the project this way.
I cut each section as I went, matching up each section with the matching brick pattern.
I left 1″- 2″ at top and bottom just to allow for matching up.
The pattern repeats every 24 inches, so there will be wasted paper.


I knocked this project out in about 3 hours, this includes a couple of short breaks.

So let’s look at the before and after:

Before: Cabinet area back-splash looks ok but BLAH!
After: The faux brick back-splash brightens up this space.
As for cleaning so far the splashes (such as spaghetti sauce by the stove) wiped right off.


What an inexpensive way to see how the faux brick backsplash would look in your kitchen before actually investing time and money with the real deal and it is a low-cost way to get a brick look back-splash.
The best part was the installation didn’t require any demolition or construction and it was super-duper inexpensive! Like… $70 for our entire back-splash.
This Faux Brick Wallpaper would look really nice in a kitchen dining area, office or laundry room wall. Lot’s of possibility.

There you have it…..I hope this has inspired you to look at different ways to get the look you want, without the big expense or lots of time.
Thanks for stopping by…….see you next time for a new DIY….


2 Comments